
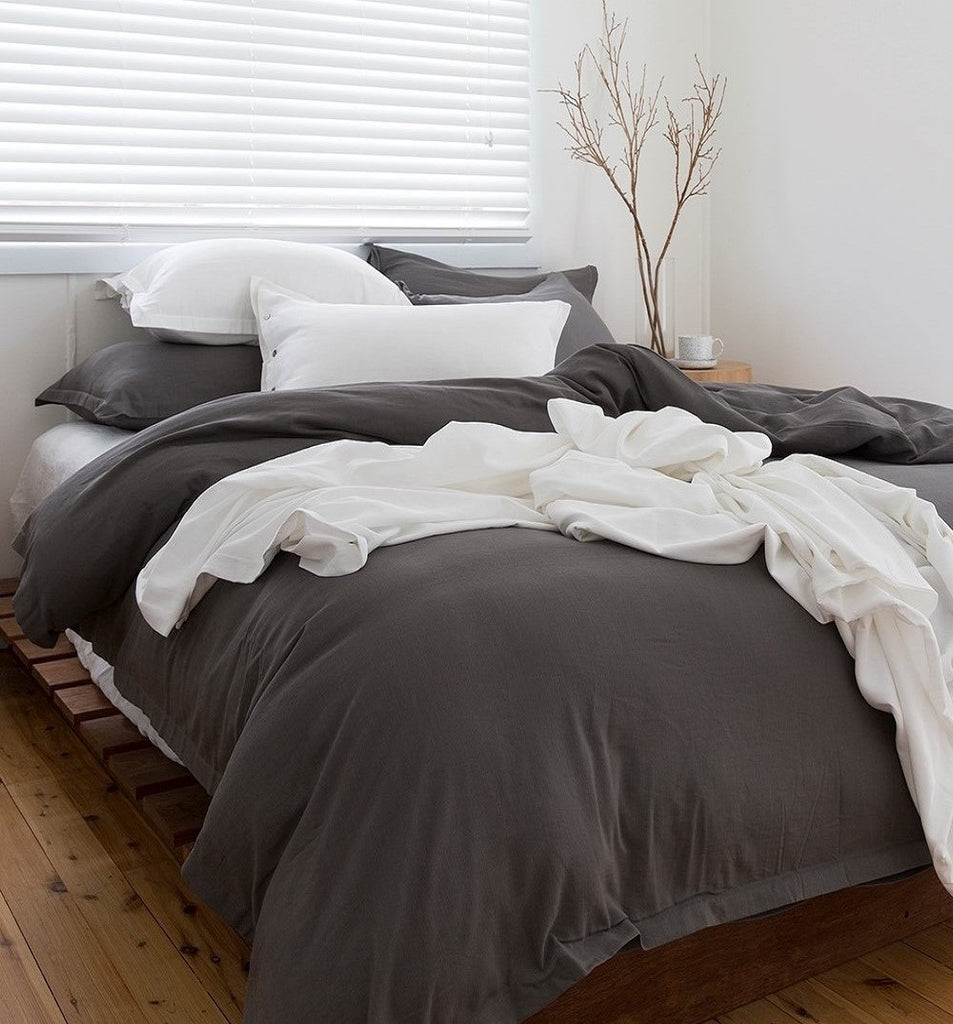
The type and quantity of bedlinen you use depends on the style of both your room and your bed. Linen and bamboo cotton with a natural texture adds a casual, cosy, lived in look.
Printed bedlinen, that will depend on the design of the print as to the look you want to create.
- Mattress topper or mattress protector with elastic edging is best.
- Fitted sheet, with elasticated edges is recommended.
- Flat sheet (optional)
- Pillowcases
- Doona, duvet cover or quiltcover
- Blanket or throw (lightweight or heavyweight, depending on your climate and the season)
- 2 European pillow shams (optional)
- Accent pillows or cushions
- Bed skirt or valance (optional)
2. Pull the mattress protector smooth
Nothing ruins bedtime comfort faster than a lumpy bottom layer, and toppers are notorious for bunching in the centre of the bed. Elastic edges help, but for extra insurance, hold them in place with safety pins around the bottom edges.
Now the tricky part begins. Centre the flat sheet on the bed, with equal overhang on either side. Align the top edge with the top edge of the mattress. Fold down the top edge and tuck in the sides and bottom edges of the top sheet.
Whether you go with a cosy quilt, a fluffy blanket or a downy doona, spread it over the bed and centre it so that it hangs evenly. Leave the folded-down sheet exposed at the top but be sure to cover the bottom edge of the bed. Your duvet hanging low over the end of your bed creates a beautiful luxurious feel, and your toes won’t get cold.
6. Layer the pillows and cushions
Start with the pillows you’ll sleep on – slip them into the pillowcases, tag ends first, and align the pillowcase seams with their edges. Plump them up and prop them against the bed head or wall. If you’re using European shams, which are usually between 65 and 80 centimetres square, add those first, then add the pillows. Pillowcases with a tailored border add a stylish finish to any pillowslip, as do exposed buttons on the pillowcase closure.
Finally, the accent cushions (three are usually plenty) add these in front of your pillows for the finishing touch.
7. Top it off with a blanket or throw for extra layering.
Fold or drape the throw and place it either at the foot of the bed or as an extra layer at the top of the bed near the pillows or consider rolling it for a fresh twist.

Leave a comment